Facebook Post
Create Facebook post
Click the Facebook button to start creating a new Facebook post.
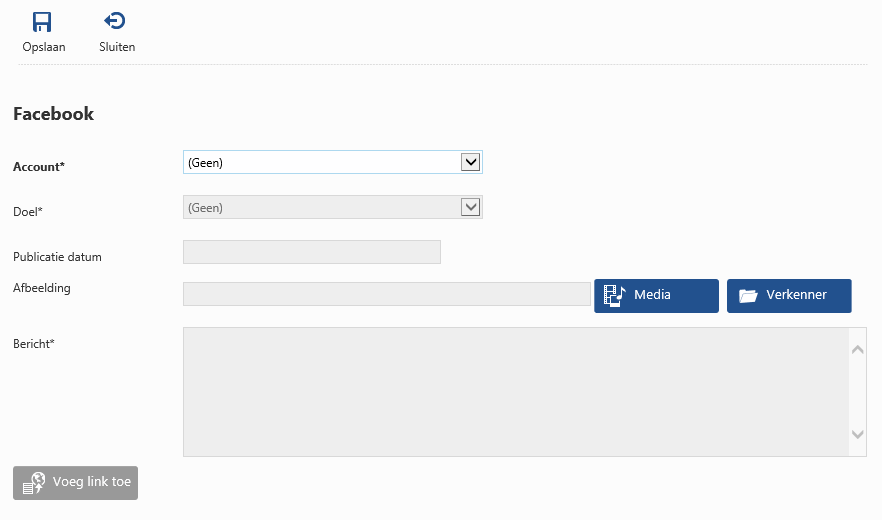
Account
First you need to select one of the pre-configured Facebook account(s). When there's only one pre-configured account available, it will be selected automatically. After an account has been selected, the other controls will be enabled.
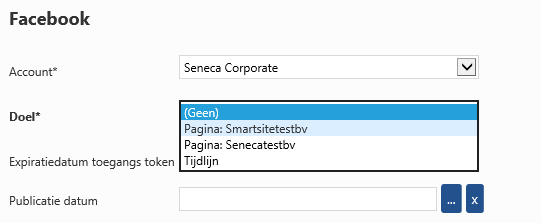
Target
The list of target(s) will be loaded once an account has been selected. It includes the selected Facebook account's timeline, as well as one or more Facebook pages that have been created for this account.
Publication date
You can choose a publication date for the post, which means it's publication will be scheduled. When this field is left empty, the post will be published on Facebook immediately when you click the Save button.
The expiration date shown above the publication date input, represents the expiration date of the access token which belongs to the selected target. You can not set a publication date beyond this expiration date.
Image
You can include an image within the post by selecting one using the Media or Explorer button. Notice that every image send to Facebook (or Twitter for that matter) will be automatically resized to max 1280 pixels width or height.
Message
It is required to include a message text within a post.
Add link
The add link button allows you to include an item link within the message text. It will open a subaction which allows you to select an item and an available channel for this item.
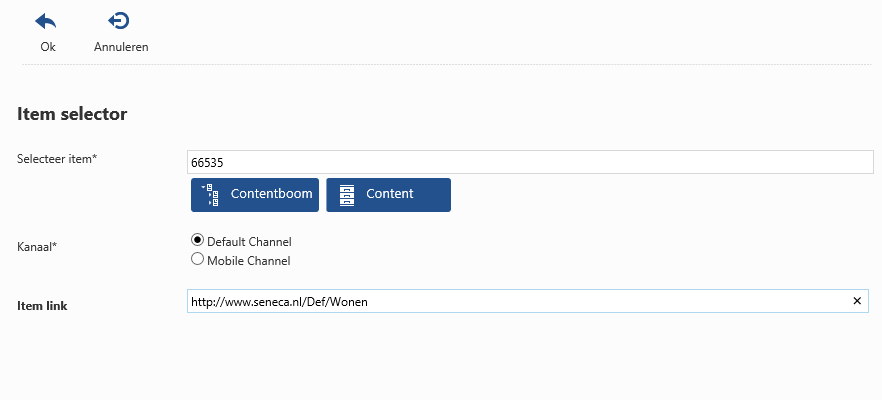
When you click the Ok button, the item link will be copied to the message text.
Edit Facebook post
To adjust an already posted Facebook message, just select it from the list and click the Edit button.
You will be able to alter the message text itself, it is not supported to add an image to an existing post or alter an existing post which contains an image.
Just click the Save button to update the existing Facebook post.
Remove Facebook post
To remove an existing post from Facebook, make sure only one existing Facebook post is selected and click the Delete button.
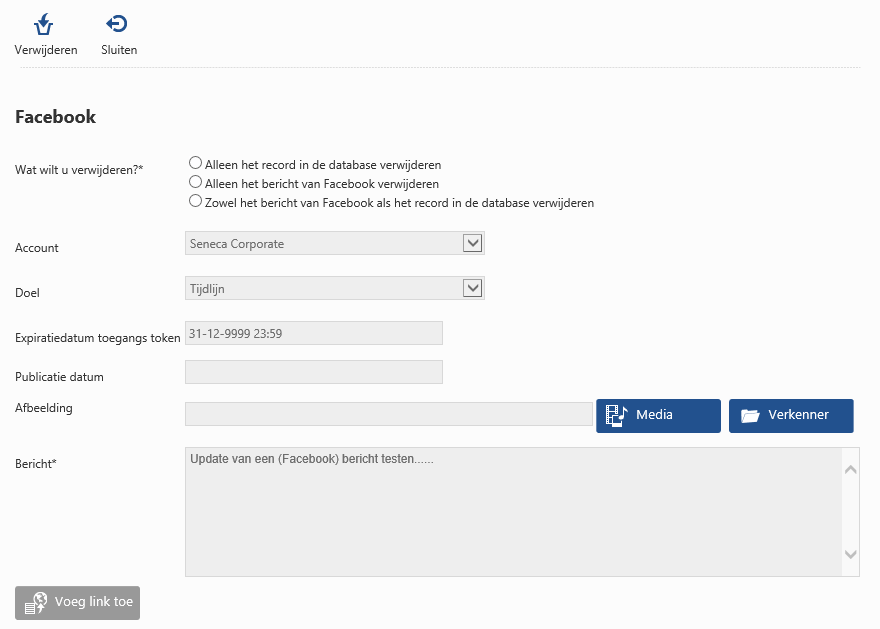
You have to choose one of the three options:
- Only remove the record within the database (the post itself will remain available on Facebook).
- Remove the post from Facebook (the record within the database will remain and the status of the post will be set to Removed).
- Remove the post from Facebook and remove the record from the database.
Select an option and click the Delete button.
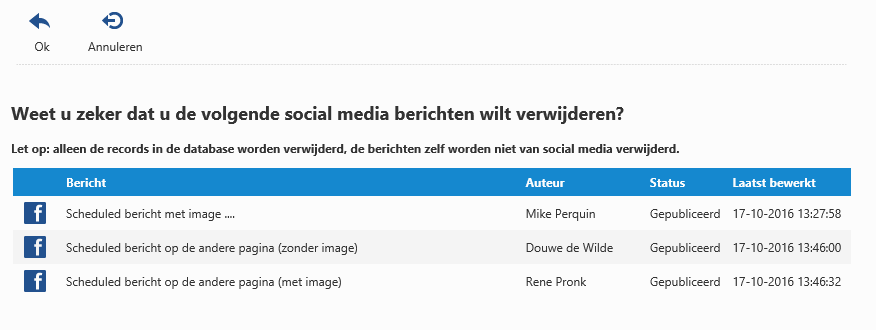
Delete multiple records
If you just want to delete the records of multiple Facebook posts from the database, you can select these multiple posts within the library and click the Delete button. Once confirmed, the records will be deleted but the posts itself will remain on Facebook.